How to insert image in mockup psd
Editing a mockup is super easy with the Photopea editor. Follow these steps to update the screen of the mockup with your image:
Step 1: Download a Mockup
First, download a mockup from our website. You can do this by visiting the link provided.
- Get Mockup Bundles
- Get Single Mockups
First, download a mockup from our website. You can do this by visiting the link provided.
- Get Mockup Bundles
- Get Single Mockups

Step 2:
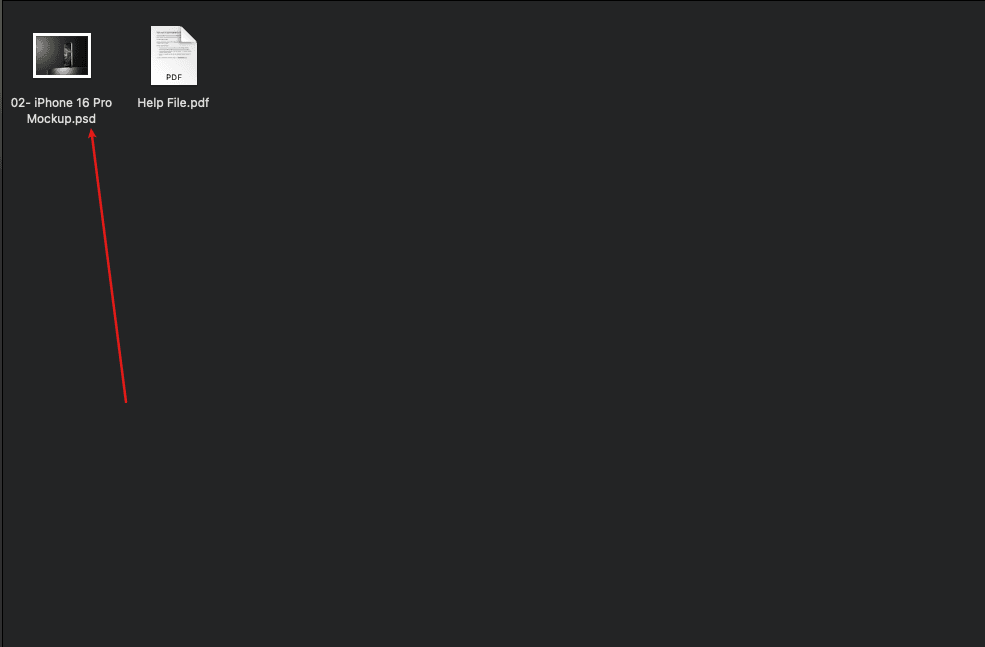
If you’re using Photopea for the first time, click on “Start using Photopea” to open the editor. Once it’s open, click “Open From Computer” and upload the mockup file you downloaded.
If you’re using Photopea for the first time, click on “Start using Photopea” to open the editor. Once it’s open, click “Open From Computer” and upload the mockup file you downloaded.
Step 3: Select the Screen Layer
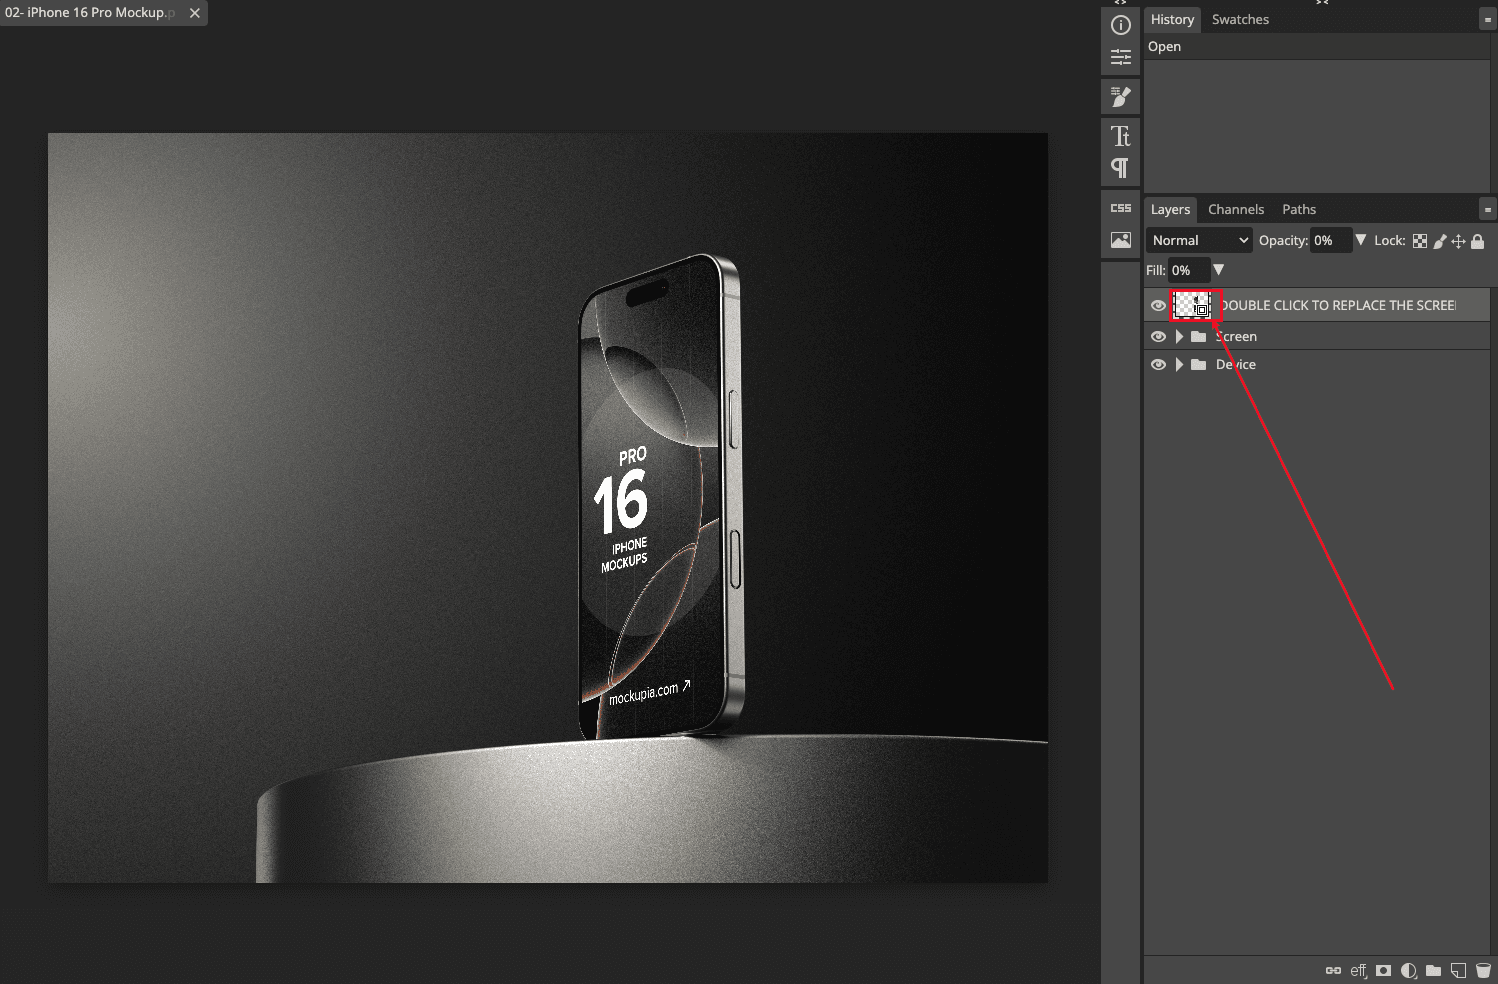
In the layer panel on the right, find the top smart-object layer that represents the screen. Double click on this layer "thumbnail".
In the layer panel on the right, find the top smart-object layer that represents the screen. Double click on this layer "thumbnail".
Step 4: Insert Your Image
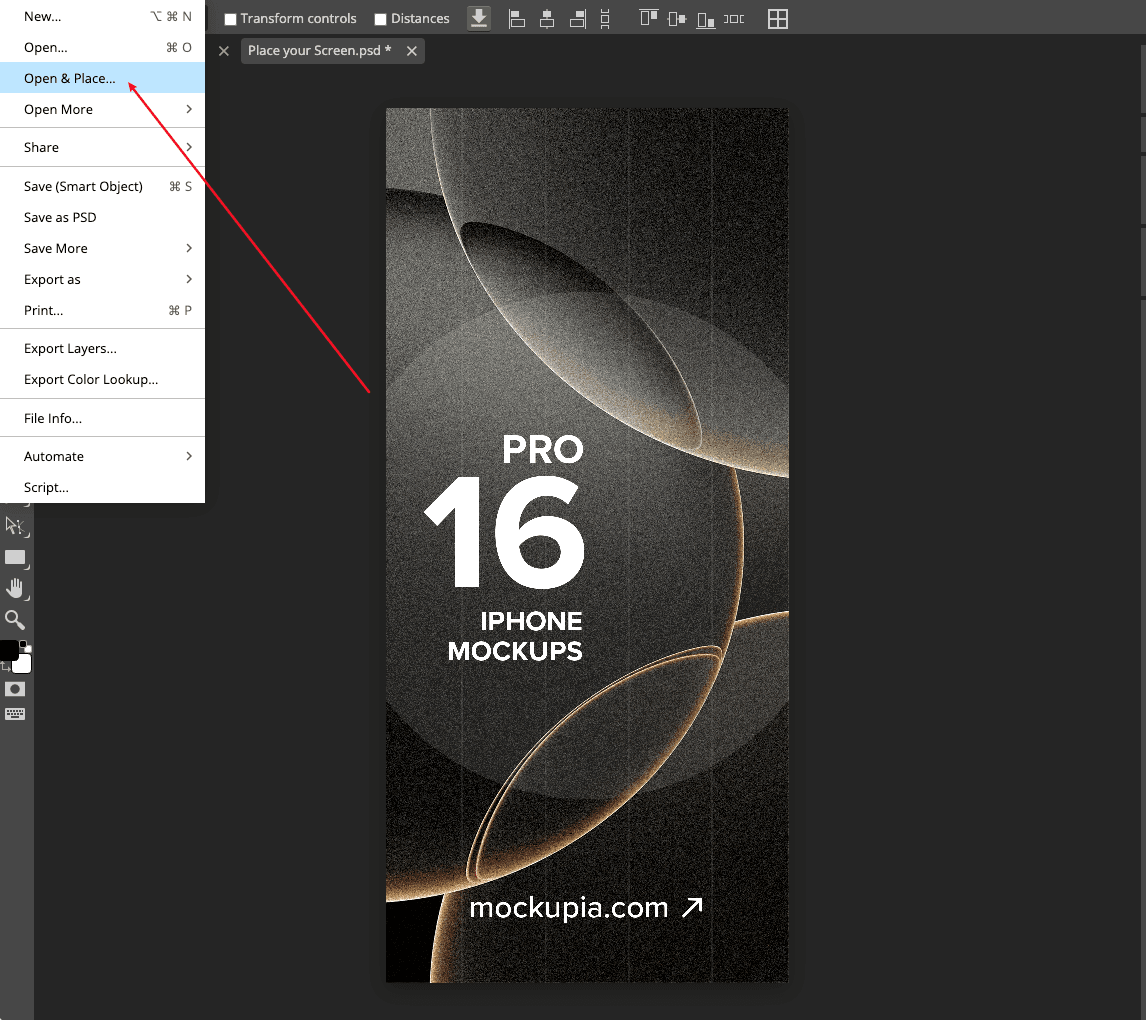
After double clicking the screen layer, a new tab will open. In the top menu, click “File” and then “Open & Place.” Now choose the image from your computer that you want to place on the screen.
After double clicking the screen layer, a new tab will open. In the top menu, click “File” and then “Open & Place.” Now choose the image from your computer that you want to place on the screen.
Step 5: Save Your Changes
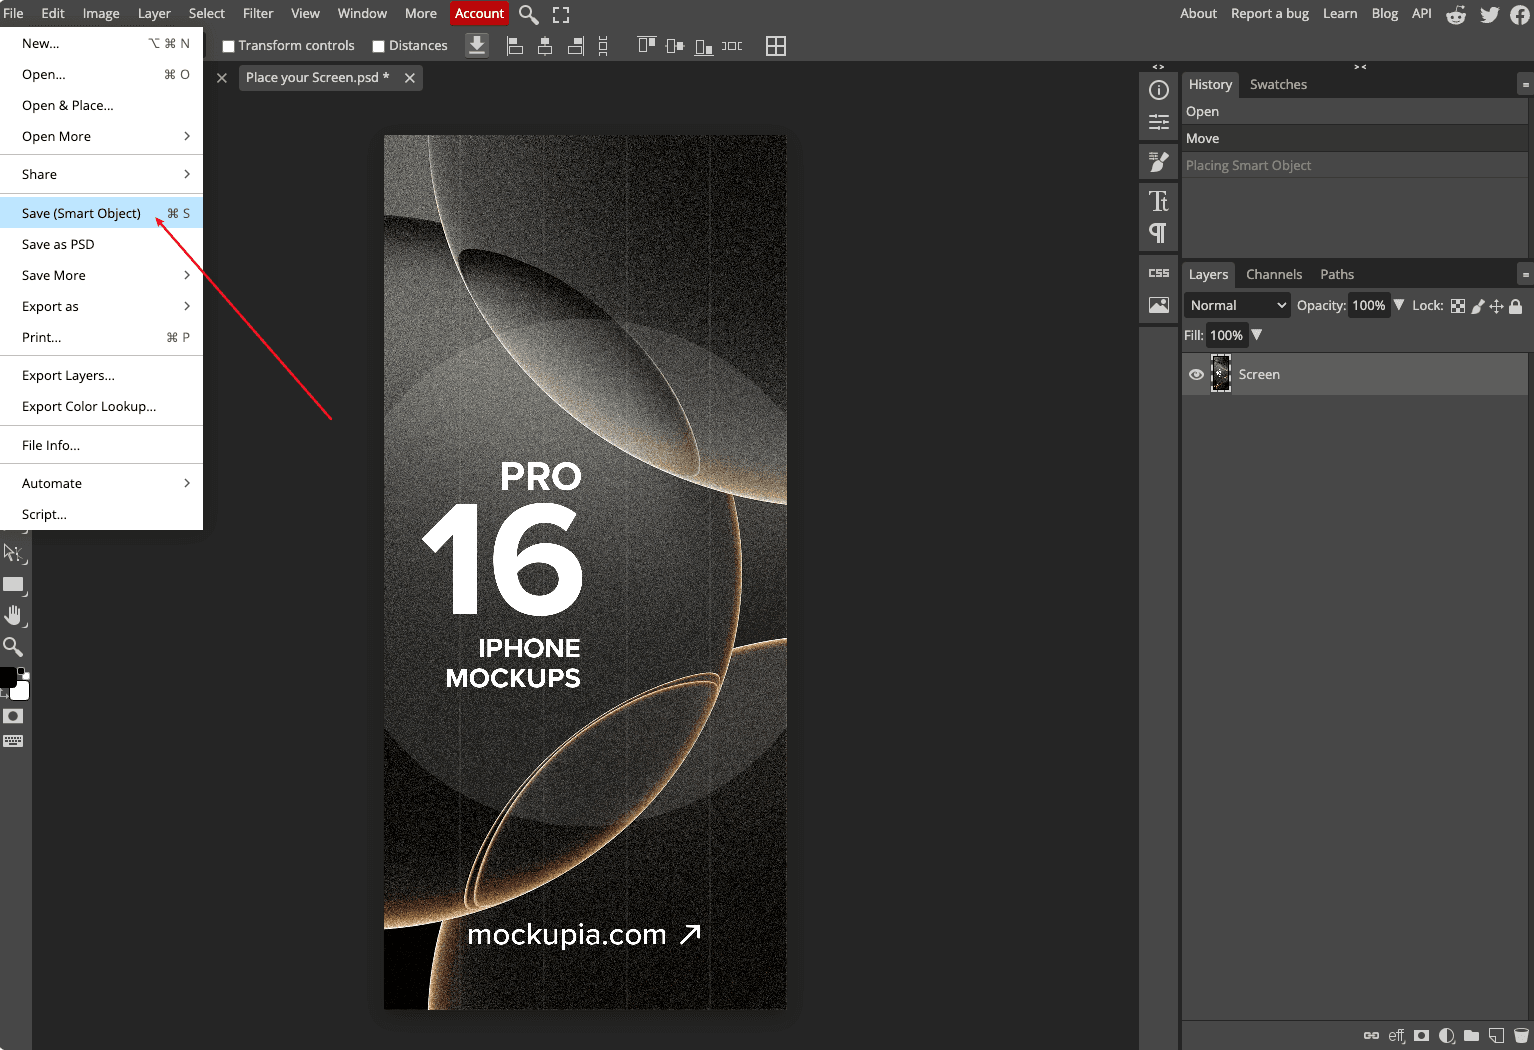
Once your image is in place, you can adjust the position as needed. Then go to the File menu and click “Save (Smart Object).” Close the tab, and your mockup will be updated with your image.
Your mockup is now ready with your customized screen! Now you can save the file to your computer.
Once your image is in place, you can adjust the position as needed. Then go to the File menu and click “Save (Smart Object).” Close the tab, and your mockup will be updated with your image.
Your mockup is now ready with your customized screen! Now you can save the file to your computer.